How to choose fitness equipment for a home gym
Most first-time buyers do not regret buying too little equipment — they regret buying the wrong equipment. A rack that does not fit the room, a treadmill whose console fails in year two, a set of dumbbells that skips the weights you would actually use. The guide below walks through the decisions that matter, in the order that matters, so the equipment you buy keeps earning its floor space.
1. Measure the room before you shop
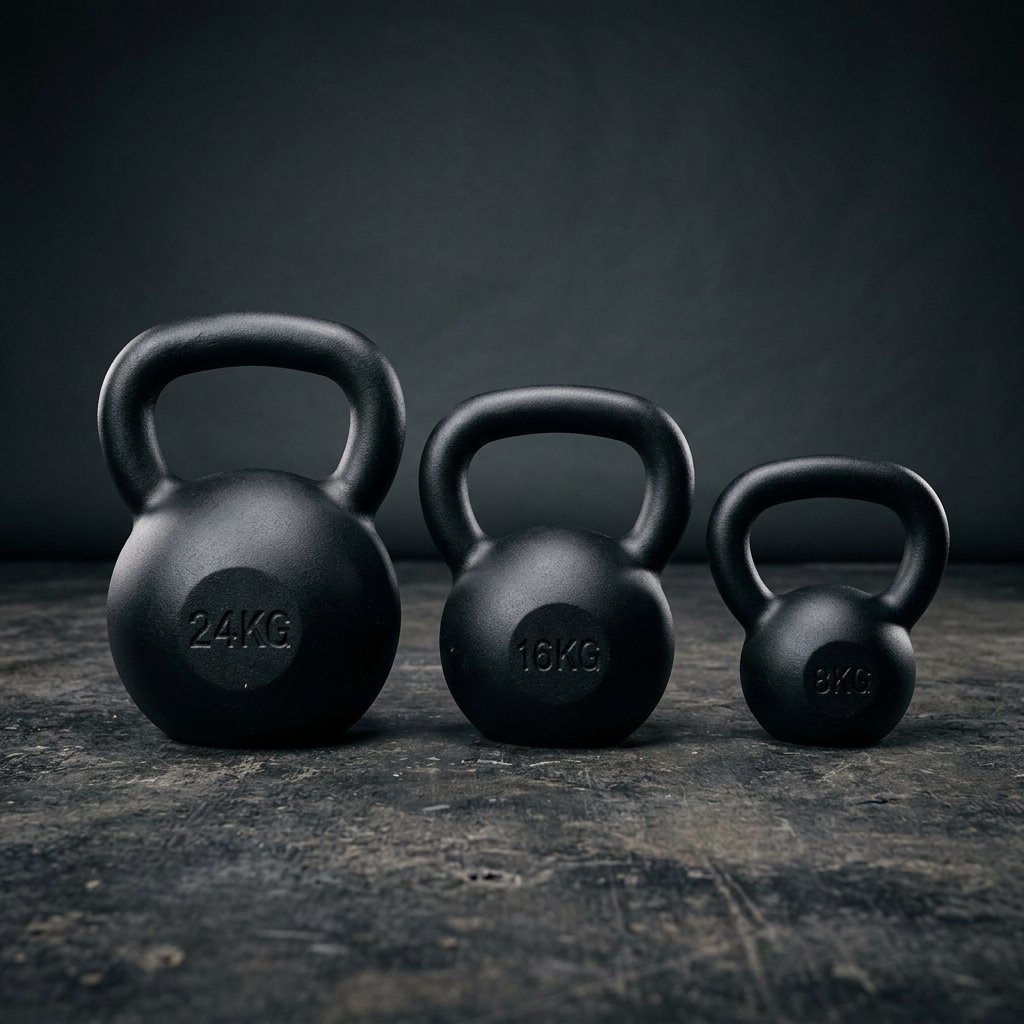
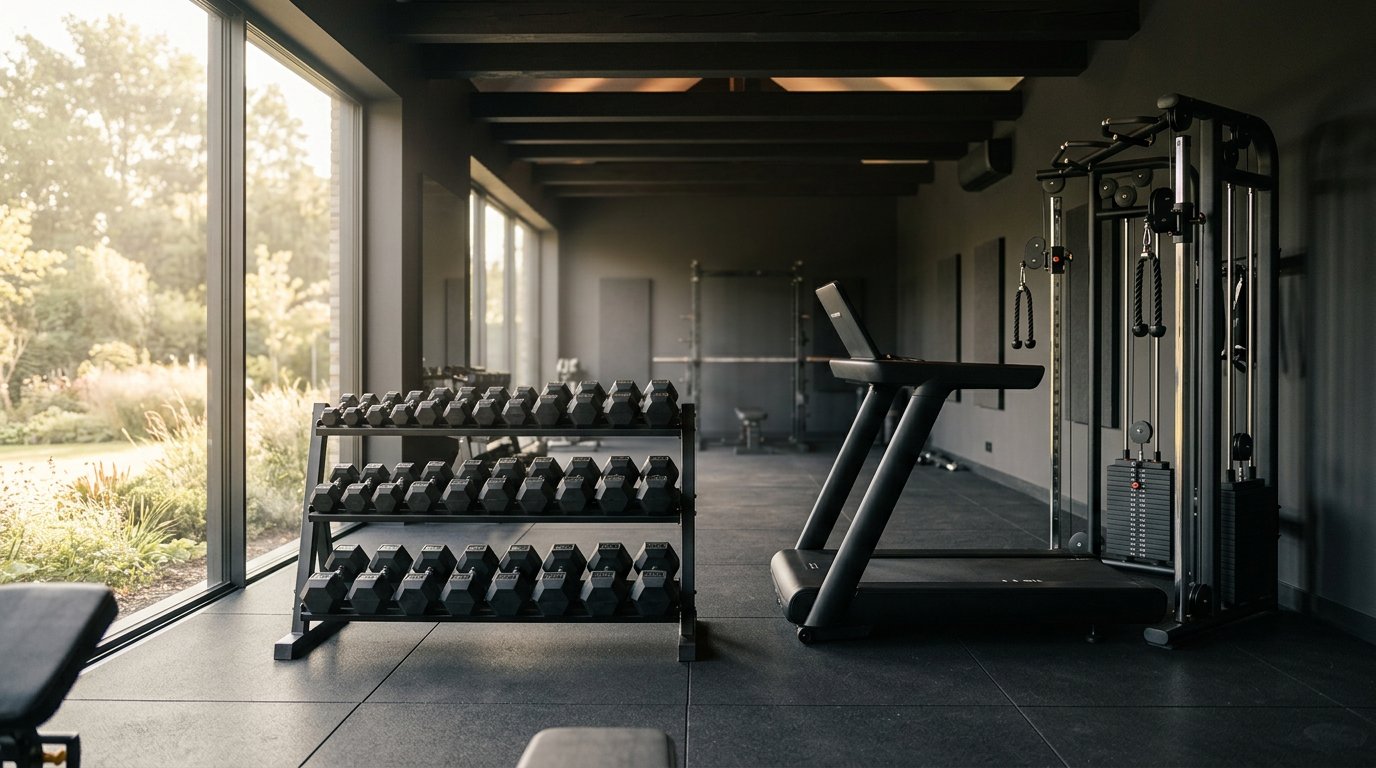
Take three numbers for every wall: length, width and ceiling height. Then subtract the clearance each machine needs — typically 24–36 inches in front of and behind cardio equipment, and enough side space to load a barbell or swing a kettlebell. A standard two-car garage bay, a spare 12×12 bedroom and a basement corner each support very different equipment lists.
- Ceiling height: most home power racks need 84–92 inches of clearance; a low basement may only suit a squat stand or a wall-mounted rack.
- Floor loading: a loaded rack plus lifter can exceed 600 lb. Upper floors benefit from rubber tiles rated for impact.
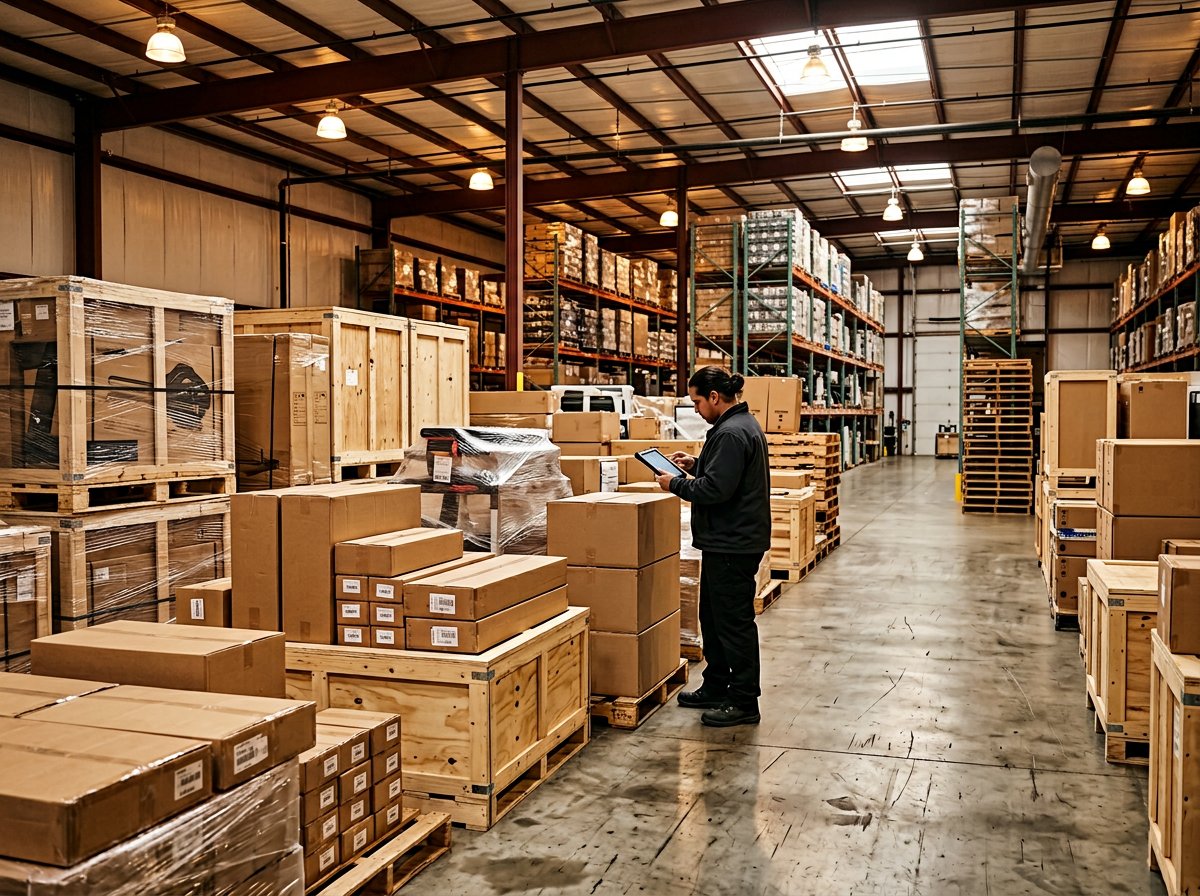
- Door paths and stair turns: measure the narrowest point a crate must pass. Freight teams will not lift equipment over a railing.
2. Start with free weights, then add machines
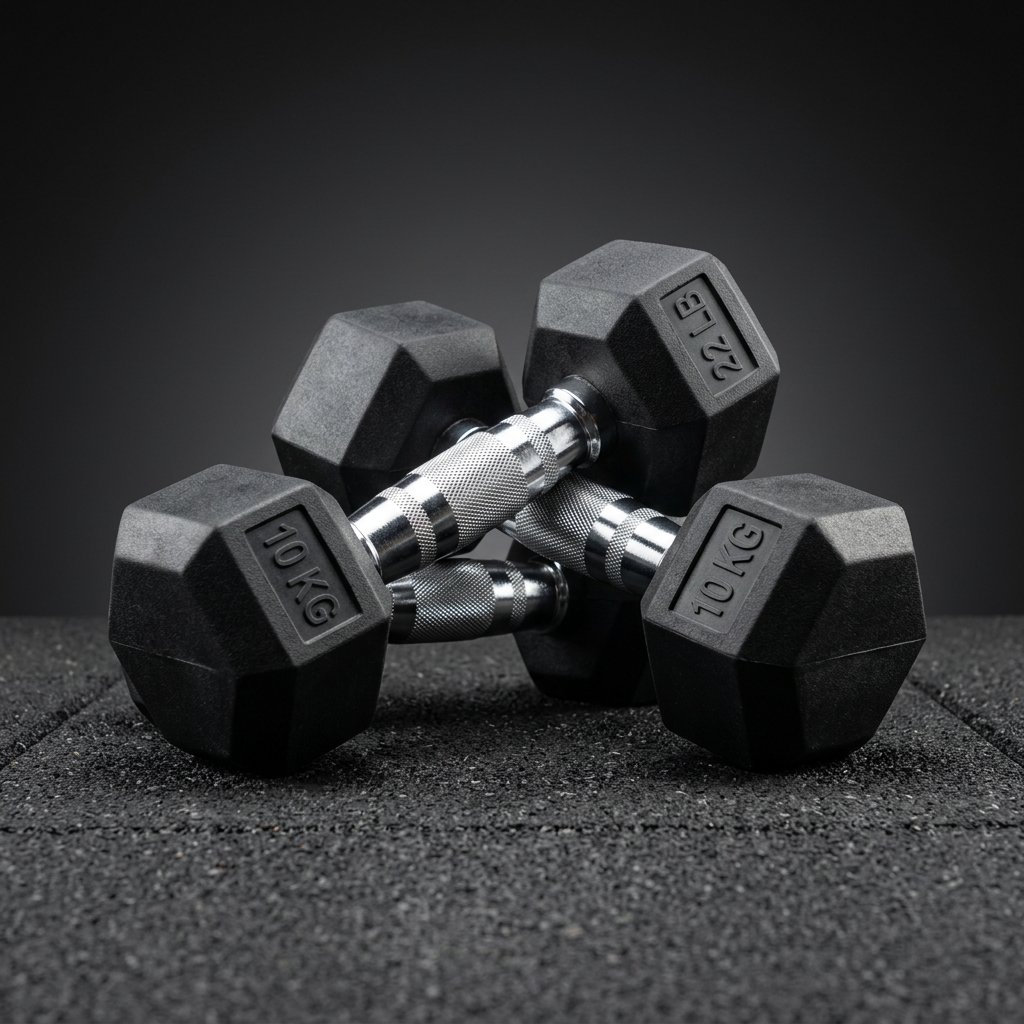
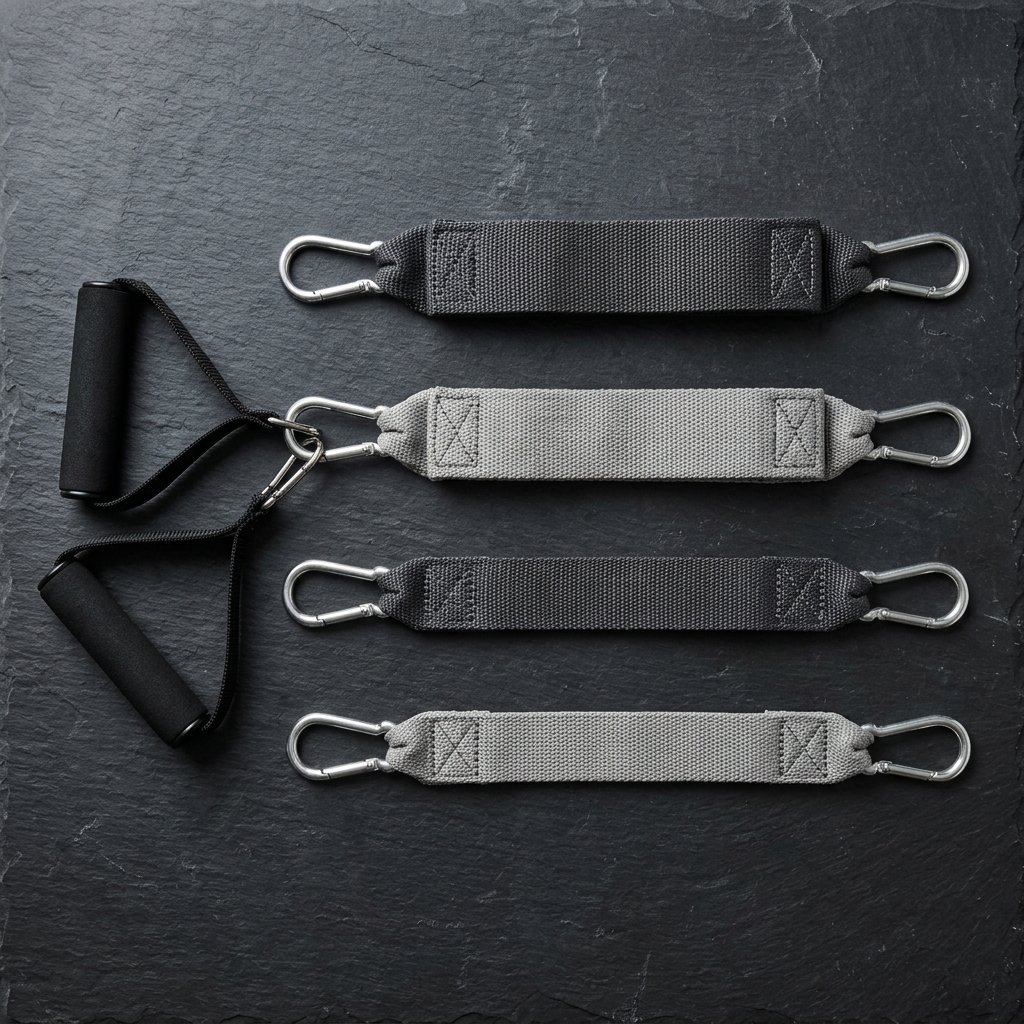
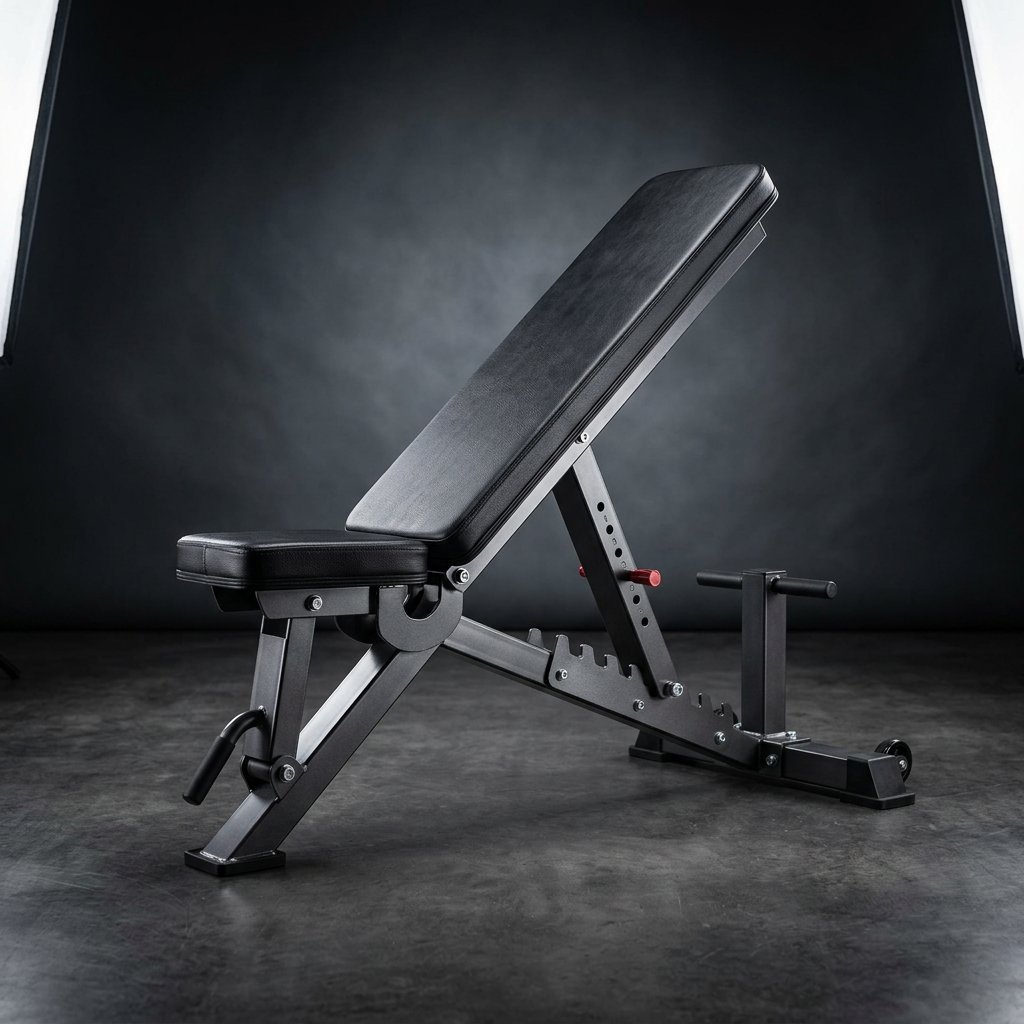
Free weights train balance and coordination as well as strength, and they store efficiently. A bench, a pair of adjustable dumbbells or a compact dumbbell set, and a pull-up bar already support a full-body program. Machines and cable systems are the better second wave, when you know which movements you want to load safely without a spotter.
If your gym is shared by people with different strength levels, a dumbbell set in five-pound increments is more practical than one heavy pair. If you train alone and press heavy, a rack with adjustable safety arms removes the need for a training partner.
Budget framework that keeps working
Roughly 60% of a starter budget belongs in free weights and a bench, 25% in flooring and storage, and 15% held back for the accessory you discover you need after month two — usually a second set of plates, a mat, or better lighting. Buying the entire list on day one tends to leave no room to adapt.
3. Match cardio equipment to how you actually train
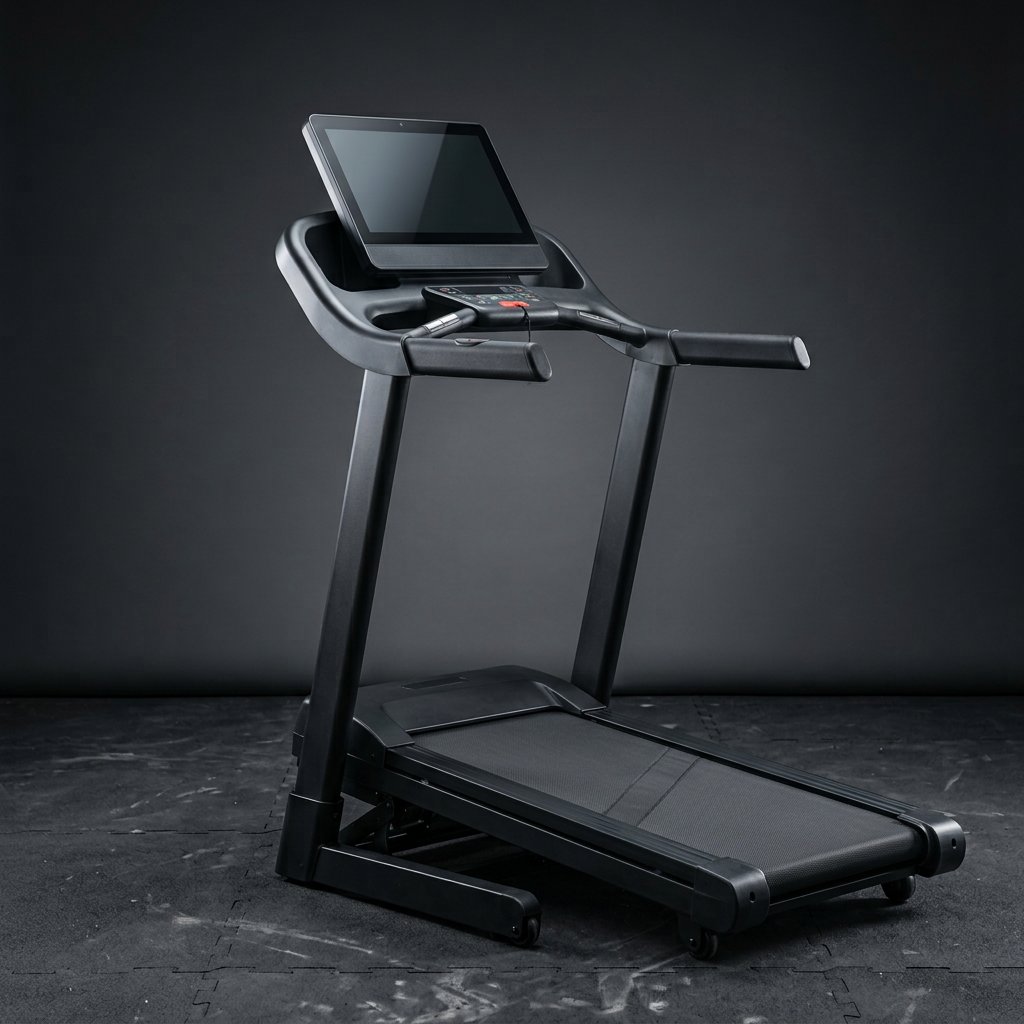
Treadmills win on walking and running convenience, rowers win on full-body intervals and storage footprint, and bikes win on quiet operation in apartments. Be honest about noise: impacts from running travel through floors, while magnetic resistance bikes and rowers stay close to silent.
- Treadmill: check running surface length (at least 55 inches for jogging), motor continuous duty rating and whether the deck folds.
- Rower: stores upright in roughly 2×2 feet; air resistance gets louder as intensity climbs.
- Indoor bike: the quietest option for shared buildings; verify seat and handlebar adjustability.
4. Buy for service, not just for specs
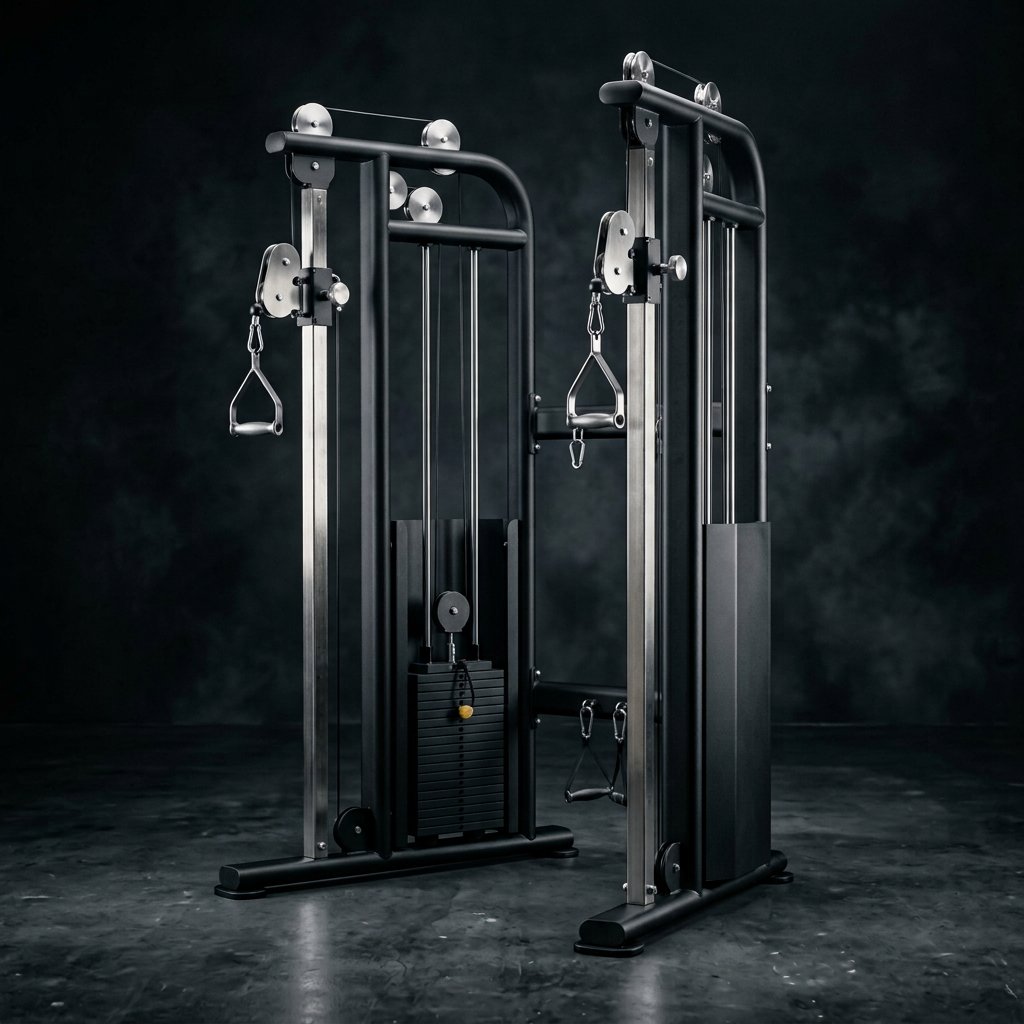
Every machine eventually needs something: a belt re-tensioned, a cable replaced, a console reset. Before you order, confirm that the seller publishes a phone number, answers parts questions and states warranty length in writing. A five-year frame warranty with no parts availability is worth less than a two-year warranty backed by a supplier who stocks cables and pulleys.
5. Protect the floor and the people using it
Rubber flooring does two jobs: it protects the substrate from dropped weights and it protects joints during high-impact work. Interlocking 3/8-inch tiles are enough for benches and cardio; Olympic lifting areas typically want 3/4-inch or thicker rubber, or a platform.
Safety equipment is not optional. Collars, safety arms, a mat under the rower to stop it creeping, and a clear 3-foot perimeter around every machine prevent the most common home gym injuries.
6. A buying checklist you can reuse
- Room dimensions, ceiling height and floor type written down.
- Two or three training goals for the next six months.
- Weight increments that match the people using the space.
- Warranty length and parts availability confirmed in writing.
- Delivery method, assembly requirements and return window understood.
- Total price including tax, delivery and any assembly fee — not the sticker price alone.
Before you start training
Exercise carries risk of injury. Consult a qualified physician before beginning a new training program, particularly if you have a medical condition, are pregnant, or are returning from injury. Product information on this site is general and is not medical advice. Always follow the manufacturer’s assembly, loading and safety instructions.